Windows Printer Installation
Download the installer for the printer(s) that you would like to install.
After you have downloaded the file to your machine run the downloaded executable file.
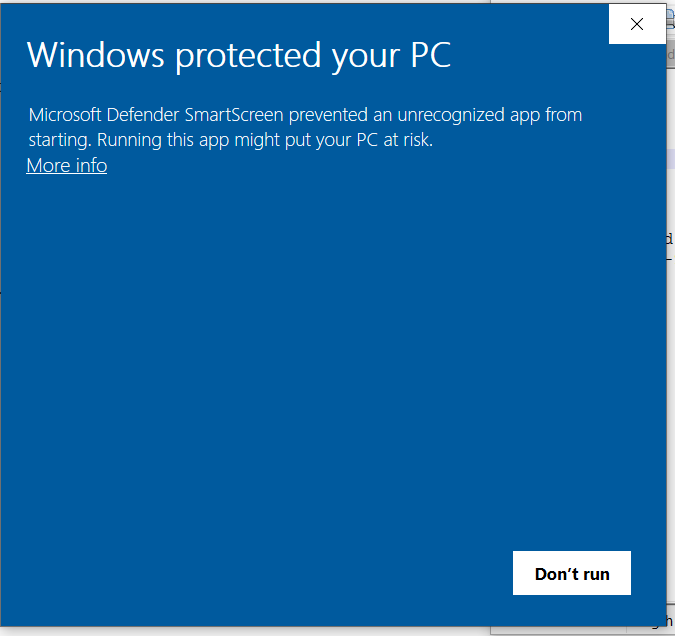
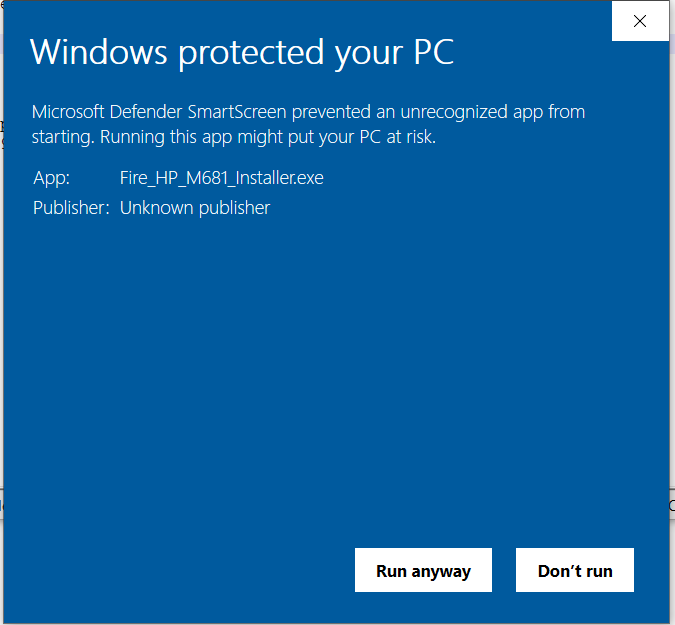
You will see the security popup shown below. This pops up because our packages have not been cryptograpgically signed. To continue click on "More Info" and then click on "Run Anyway".
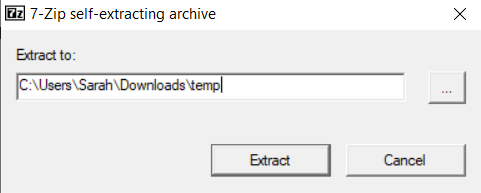
Select a location to extract the files. Choose a location that you can find since you will need to browse to the location in the next steps
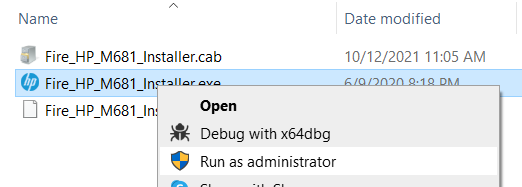
Browse to the location of the extracted files.

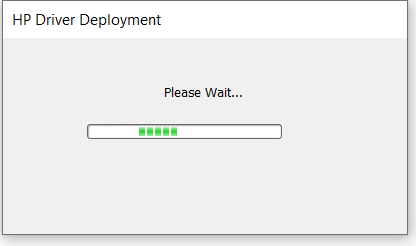
Right click on the .exe file and select "Run as Administrator".
You should see the window below. If you do not then go back and right click on the .exe file and select "Run as Administrator".
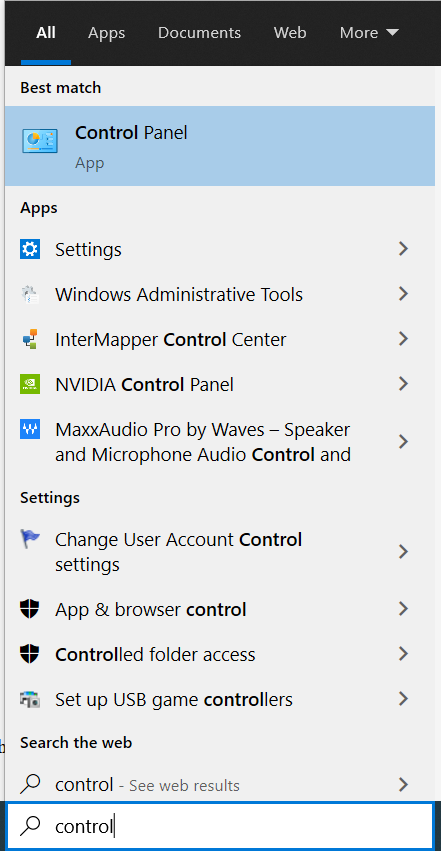
Once the install is complete go to the windows control panel and select devices and printers.
Use the windows search bar to search for "Control". You should see the heading for the control panel, click it.
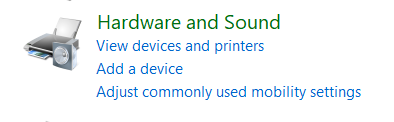
You are looking for "View Devices and Printers" OR "Devices and Printers". Both will take you to the same location.
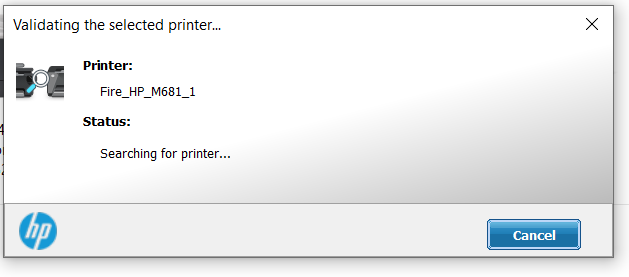
Once there right click on the printer you just installed and go to printing preferences. You will see the HP Validation window popup.
Once that completes you should see the printing preferences window. Select the Job Accounting tab.
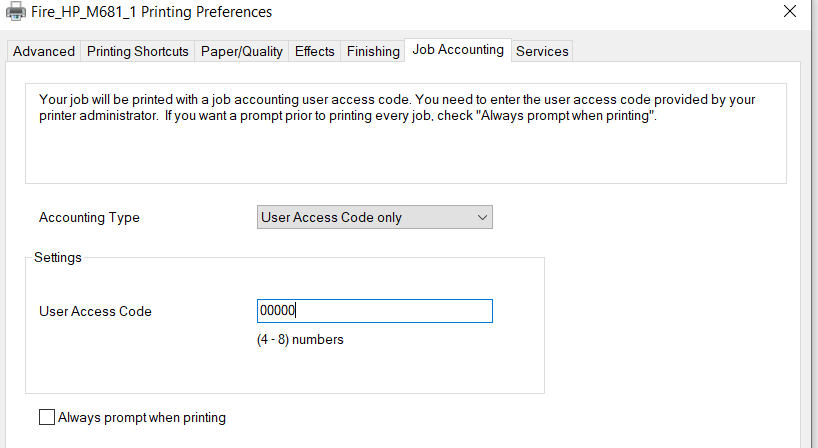
Set the accounting type to User Access Code Only. Under user access code enter your Cowork access pin (shown here as 00000, be sure to enter your code).
Optionally you can enable the Always prompt when printing check box to see the pincode window when printing. The installation of the printer is complete.
Repeate this process for additional printer installs if needed.